Painted Popcorn Ceiling Removal
If you’re tired of looking at that dated (hopefully not painted) popcorn ceiling, it’s time to consider removing it. As a handyman, I’ve helped many homeowners remove their popcorn ceilings and I’m here to share my tips on how to tackle this project.
A client reached out to me while they were traveling and inquired if I was available to remove the popcorn ceiling in their rental property. I had some openings in my schedule and agreed to take on the project. However, upon starting the work, I discovered that the ceiling had been painted and there were also some preexisting patches that needed to be addressed. Here’s how I approached this situation…
Before we get started, it’s important to note that removing a popcorn ceiling can be a messy and time-consuming process. It’s also important to wear proper protective gear, such as goggles, gloves, and a mask, as the dust and debris can be harmful to your health.
Step 1: Test for asbestos. If your home was built before 1980, it’s important to test for asbestos before beginning the removal process. Asbestos is a hazardous material that was commonly used in construction before it was banned. If your ceiling tests positive for asbestos, it’s important to hire a professional to remove it as inhaling asbestos fibers can cause serious health problems.
Note: If you plan on taking this on your own wear a painter’s respirator (NIOSH-APPROVED OV P95), and a Tyvek disposable suit. Talk to your county about how to dispose of the debris. Legally speaking, it’s fine to do it on your own. There is no law against it. Federal regulations don’t disallow it and the Environmental Protection Agency (EPA) won’t stop you.
Step 2: Prep the room. Remove all furniture, decorations, and window coverings from the room. Cover the floor and any remaining furniture with a 4-mill plastic (if you have carpet), and X-Paper if you have hardwood or vinyl floors to protect them from dust and wet debris.
Step 3: Wet the ceiling. Using a garden sprayer or a pump sprayer with half of the tank filled with car windshield washer fluid and water. This helps with weakening the binding chemistry of the paint and making it more flexible when scraping off the old (if painted) popcorn texture, thoroughly wetting the ceiling with this mix to a sheen. This will help to loosen the popcorn texture and make it easier to scrape off. Let the ceiling soak for at least 15-30 minutes before proceeding.
Step 4: Scrape the ceiling. Using a 10″ drywall knife, begin scraping off the wet popcorn texture. Be sure to work in small sections and use a steady, firm motion with the angle of the blade around 15 degrees to avoid damaging the drywall underneath. As you work, the wet popcorn will turn into a sludgy mess (if not painted), and will come off as if like peeling tape if painted, so be prepared for a bit of a mess.
Step 5: Clean up. Once you’ve scraped off all of the popcorn texture, it’s time to clean up. Use a wet/dry vacuum to suck up any excess debris as well as a broom for larger debris and bag them up! Then wipe down the ceiling with a damp sponge mop to remove any remaining dust.
Step 6: Repair and finish. Now that the popcorn ceiling is removed, you’ll likely have some imperfections in the drywall that need to be repaired. Use Type-3 Joint Compound (Top Coat), repair any “unforeseeable” patches, then use an 18″ paint roller on a pole with a heavy nap roller. Now mix the joint compound up to the consistency of a thick pancake batter and pour it into a large painter’s tray and roll it on in 5’x5′ sections, then smooth it out with a 14″ drywall knife. Then sand the ceiling smoothly. I would recommend renting a 9″ orbital-oscillating vacuum sander made for drywall with 240 grit. Once the ceiling is repaired and sanded, you can paint or apply a new texture to the ceiling to give it a fresh, updated look.
Removing a painted popcorn ceiling is a fairly labor-intensive project, and has a cost of around $6-sqf ~ $10-sqf depending on the region you live in for a professional to do the work for you, but the end result is worth it. With a little patience and elbow grease, you can transform your outdated ceiling into a beautiful, modern surface. Just be sure to follow all safety precautions and, if necessary, test for asbestos before beginning the removal process.
It's a dirty job, but someone has to do it!
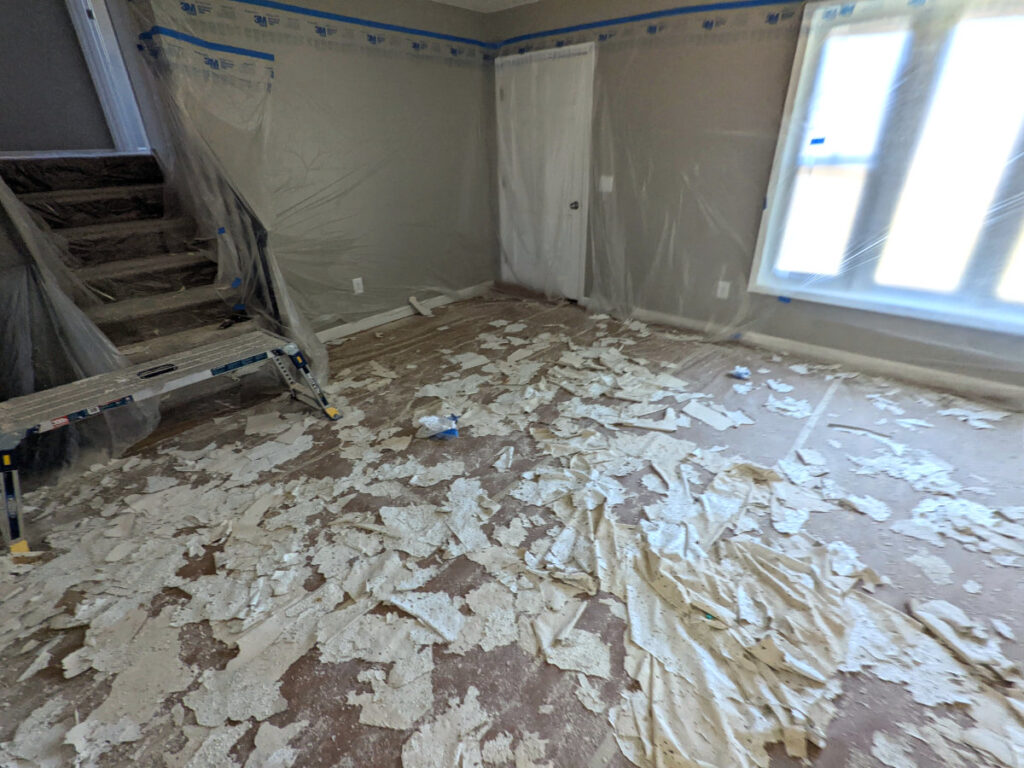
Getting there...

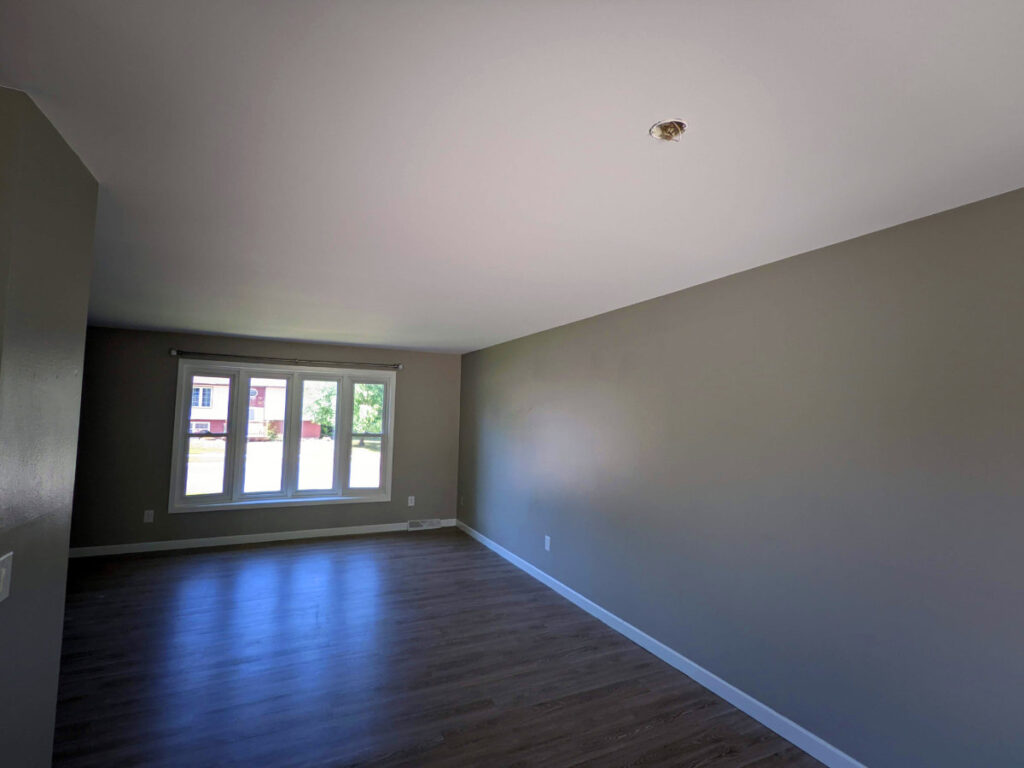
A little paint, and finished!